
Vendor Setup Information
To Access
Vendor Setup Information
- From the ChargeTracker Main Menu window, choose
Setup Information.
- From the ChargeTracker Setup window, choose
Vendor Setup Information.
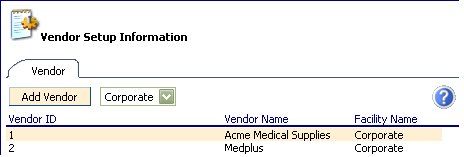
Existing Vendors will be displayed. Note:
if logged in as a Corporate user, the vendors added by Corporate will
displayed. If
logged in as a Facility user, only the vendors unique to that facility
will be displayed (security may prevent you from viewing Vendors that
were added by Corporate).
To Add a New Vendor
- In Vendor Setup Information,
click the Add Vendor button. The
Vendor Setup window will appear.
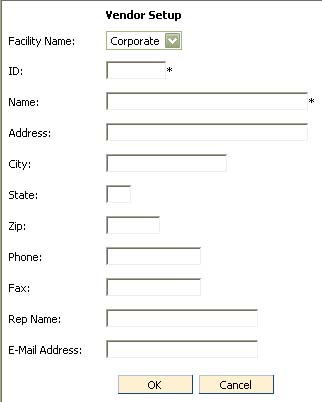
- Fill
in the following fields to add the new vendor:
Facility
- The facility you are logged into will be displayed in the facility field.
Id
- Unique identifier for this vendor.
Name
- Vendor name
Address,
City, State, Zip - address of the vendor
Phone
and Fax numbers for the vendor
Rep Name
- Contact for this vendor
Email Address
- Email address of this vendor
- Click
OK to add the new vendor to the Vendor list. Click
Cancel to exit without saving changes.
To Edit a Vendor
- From the ChargeTracker Main Menu window, choose
Setup Information.
- From the ChargeTracker Setup window, choose
Vendor Setup Information.
- Double click the vendor you wish to change information
for.
- Highlight,
then type over any information that needs to be changed.
- Click
the Save button to save changes. Click
Cancel to exit without saving changes.
To Delete a Vendor
Only Vendors that are not in use may be deleted.
- From the ChargeTracker Main Menu window, choose
Setup Information.
- From the ChargeTracker Setup window, choose
Vendor Setup Information.
- Double click the Vendor you wish to remove.
- From the Vendor Setup window, click the Delete
button.